Preparing the Binding/purfling
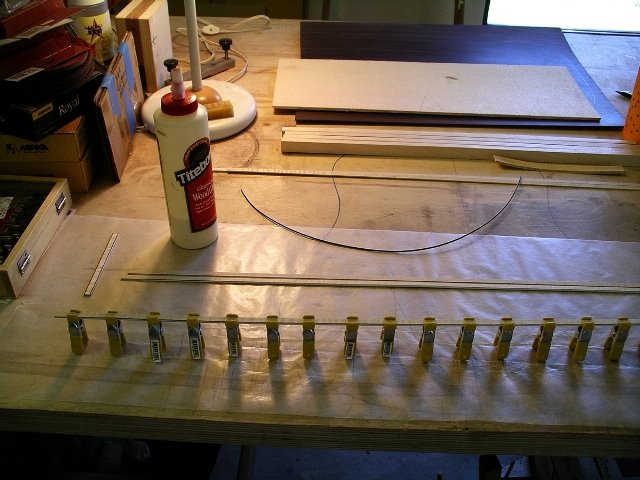
Before I get into the construction of the back, I prepared the binding for the guitar. I will be using a flamed maple binding for a high contrast with the dark rosewood back and sides. To add a little additional detail to the binding I wanted to add a black/white purfling line between the maple and the rosewood.
 Its pretty easy to route a ledge in the top or the back and glue the purfling into it before the binding is glued on, but I don't think I can take the same approach on the sides. I glued a strip of black/white purfling to the edge of each strip of the maple binding material. I will bend the binding and purfling as one piece, then install it as one piece.
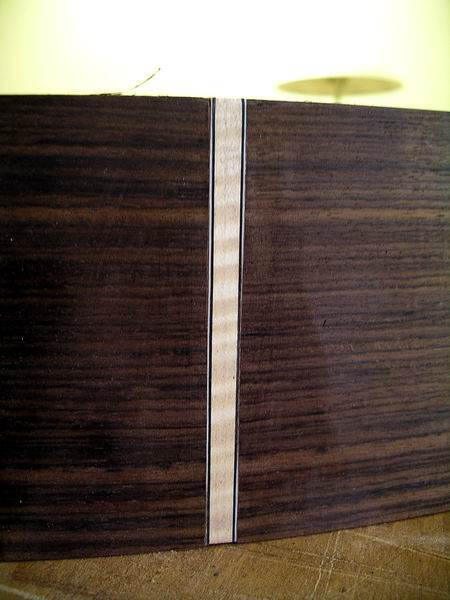
I took a short piece of the maple and glued two strips of purfling on both sides. I then inlayed this piece into the guitar sides as an end graft. Here is a picture of it. The thin white line next to the dark rosewood and the thin dark line next to the maple will give a real nice contrast.
The Back Plate
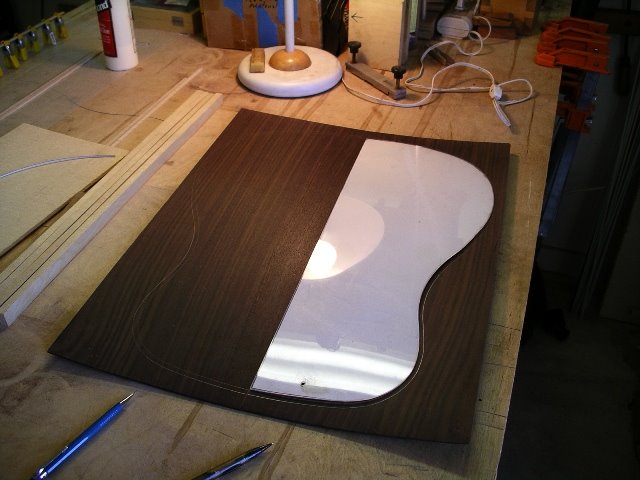
After carefully joining the two pieces of the back and reducing the thickness down to about 0.090" I marked the outline of the guitar using my template.

I used a coping saw with a fine blade to cut the back down to size. I made my cut about a quarter of an inch outside the template outline to allow for some error. I will remove the excess with a router after the top and back are glued to the sides.
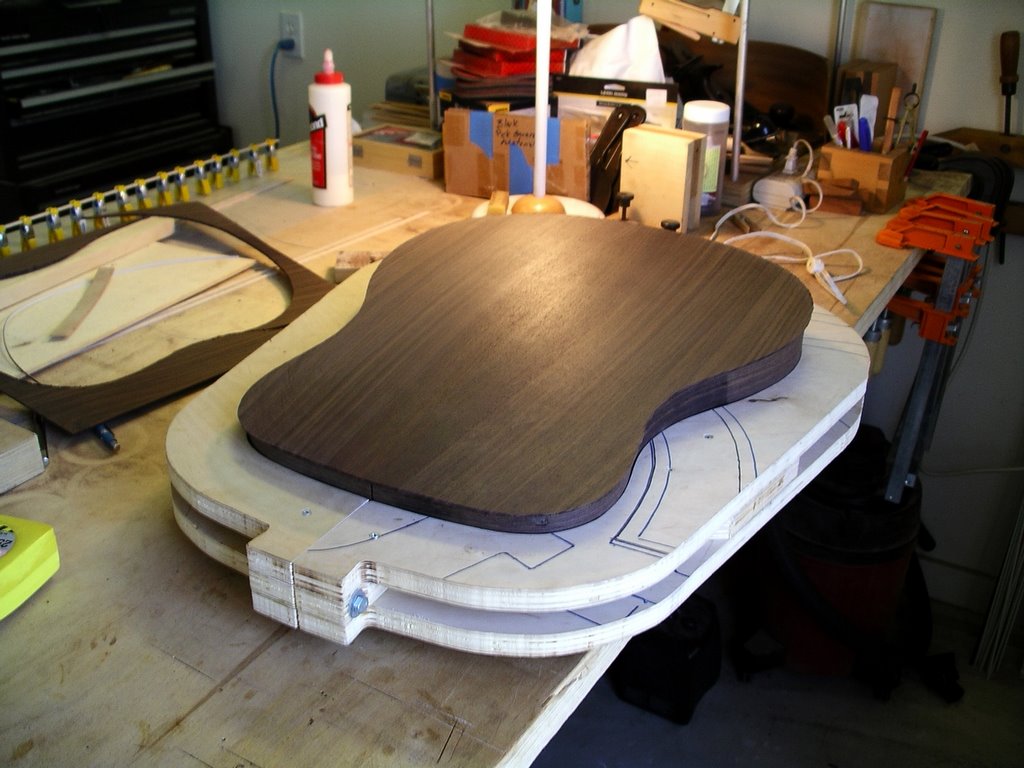
After a quick check to see how things fit I moved on to cutting the braces and gluing them to the back.
 The brace material was the Lutz spruce from High Mountain Tonewood, just like the soundboard. The back strip material was cut from the protective pieces Shane used to ship the wood. I will have enough for about a dozen backs.
I cut the braces to the approximate size, then used a block plane to get the dimensions closer to final.
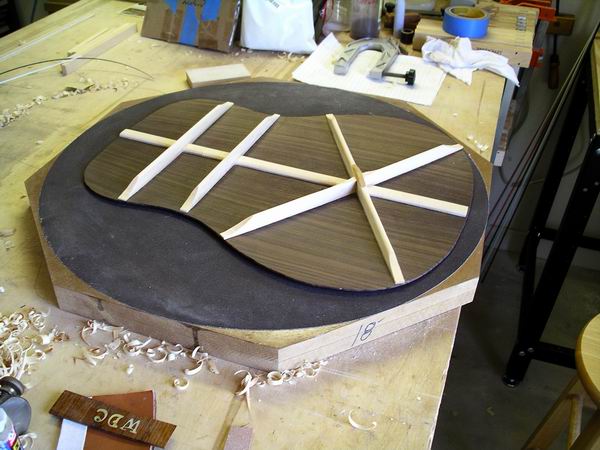
In the last picture, you can see the sanding dish I use to give a dome shape to the back. I planed and sanded each of the braces to match the dome, then glued everything in place.
After shaping the braces with a chisel and sandpaper, I'm ready to glue the back to the sides.
No comments:
Post a Comment